
Thursday, September 5, 2013

Remember this little guy? Lorac Pro? You should as it was featured in my most recent review. I thought it would be fun to do some tutorials based upon this palette. With so many shadows, there are numerous possibilities. Today's look is just one look I have come up with.

This tutorial is a fun taped off look that is pretty easy to do. Keep reading to see how I did this look.

Start out with your bare eye. This is my eye without anything on it or any concealer (YIKES).
Step 1: Prime your eyes
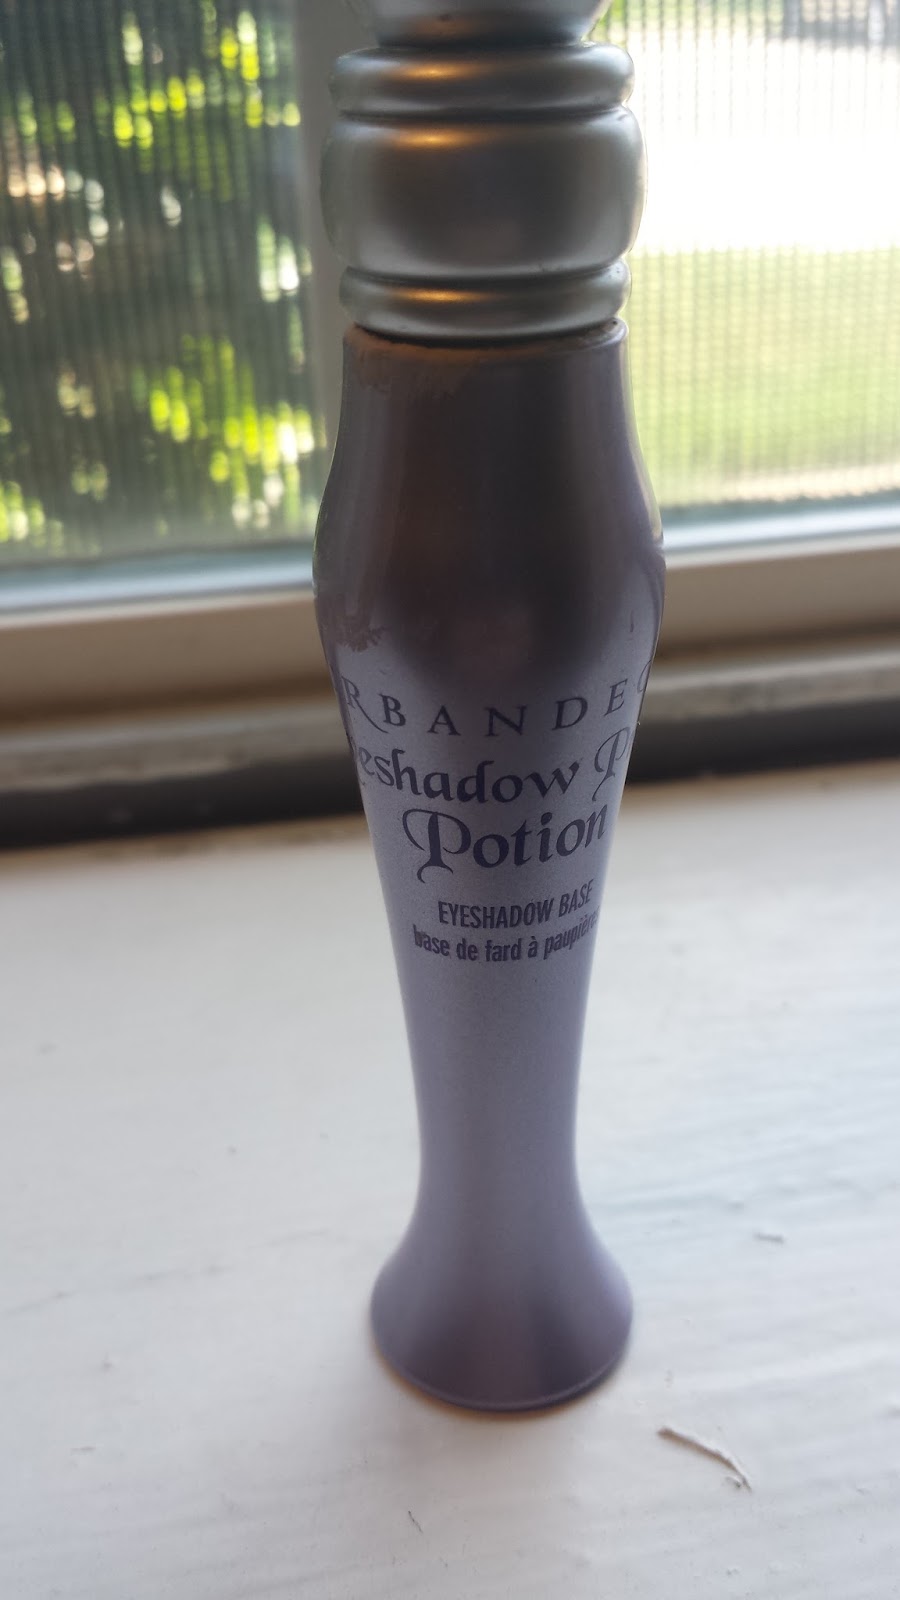
I'm using my favorite primer, Urban Decay Primer Potion. A primer will help your shadows last all day and appear more vibrant. A primer gives your shadows something to stick to.

Step 1 Cont'd
Here is my eye all primed up. I used my ring finger and gently blended the primer all over my eye up to my eyebrow. I also primed the lower lash line since I will be placing shadow there.

Step 2: Create a guideline using Scotch Tape
Here's my fancy pancy roll of scotch tape. You will need a piece that is about an inch or so.

Step 2 cont'd: Line the Scotch Tape up
You want to create a line going up from your lower lash line. It should come out at an angle like shown in the photo above. Be gentle placing it so that you don't irritate your skin.

Step 3: For this step you will need a champagne colored eyeshadow.
I'm using this one out of the Lorac Pro Palette.

Step 3 cont'd: You will need a flat shadow brush to place the color.

Step 3 cont'd : Placing the Champagne color.
You want to place the champagne color on the inner part of the eye. I've set up dotted lines to see where I placed the color. I brought the shadow out more to help with blending the next color. I used patting motions to cut down on the amount of fallout.

Step 4: Using a Bronze Color.
This step will require you to locate a bronze shadow and use your flat shadow brush to place it onto the eye.

Step 4: cont'd Placing the Bronze Color
You want to place the bronze color on the middle part of the lid. Be sure to overlap the colors to help you blend a little bit. I used gentle patting motions.

Step 5: Using a darker brown color.
For this step, I am using Pewter to begin to define the crease and outer v of the eye. I placed the color using a flat brush and turned the flat brush onto its end to create the line for the crease.

Step 5 cont'd
The shadow should resemble this shape where the dotted lines are. Make sure you place the shadow right up to the tape line. Don't be afraid to overlap the tape line, it's not going to matter if you get it on the tape.

Step 6: Blend, Blend, Blend
For my blending, I am using this E25 brush by Sigma. You can use whatever blending brush you prefer.

Step 6 cont'd
Make sure you blend in windshield wiper motions. Take your time blending the colors together.

Step 7: Defining the Outer-V
For this step you will need a black shadow and a flat definer brush.

Step 7 cont'd
Here's my flat brush. Nothing super special.

Step 7: Defining
Taking your flat definer brush and your black shadow, you want to create a literal V shape at the outer part of your eye. Make sure that the V is touching the tape (you want it to go right up to it). It should look something like this.

Step 8: Blending
I like to use a tapered blending brush when I am blending out my outer V. It helps to keep the blending to a smaller area without overtaking the rest of the eye.

Step 8 cont'd:
Your blending outer V should look something like this.

Step 9: Wing that Liner
For this step, grab your favorite black liquid or gel liner. I am using #77 by Inglot Cosmetics.

Step 9 cont'd
You will also need your favorite liner brush. I am using this one by Inglot. The angle makes it easy to get up against the tape.

Step 9: Wing that Liner
Make sure to follow the line of the tape when doing your liner. Here's how mine came out.

Step 10: Remove That Tape and Clean Up Fallout
Your eyeshadow and liner should be left with this awesome line once you remove the tape. It should look very crisp. Sometimes it can be helpful to wait a little while to ensure that your liner is completely dry before removing the tape.

Step 11: Lower Lash Line Color
For this step you will need a flat eyeshadow brush to place color on your lower lash line. I'm using this one by Hakuhoodo.

Step 11 cont'd
I selected Garnet for my lower lash line pop of color.

Step 11 Placing the color
For this step, use your flat brush to gently brush the color on your lower lash line. I brought the color all the way into my inner corner area to meet the original champagne color that I placed.
Step 12: Mascara!
Here's the final product with my brows filled in a little bit. I hope you enjoyed this tutorial. As always be sure to follow me and let me know what you think.


.jpg)


